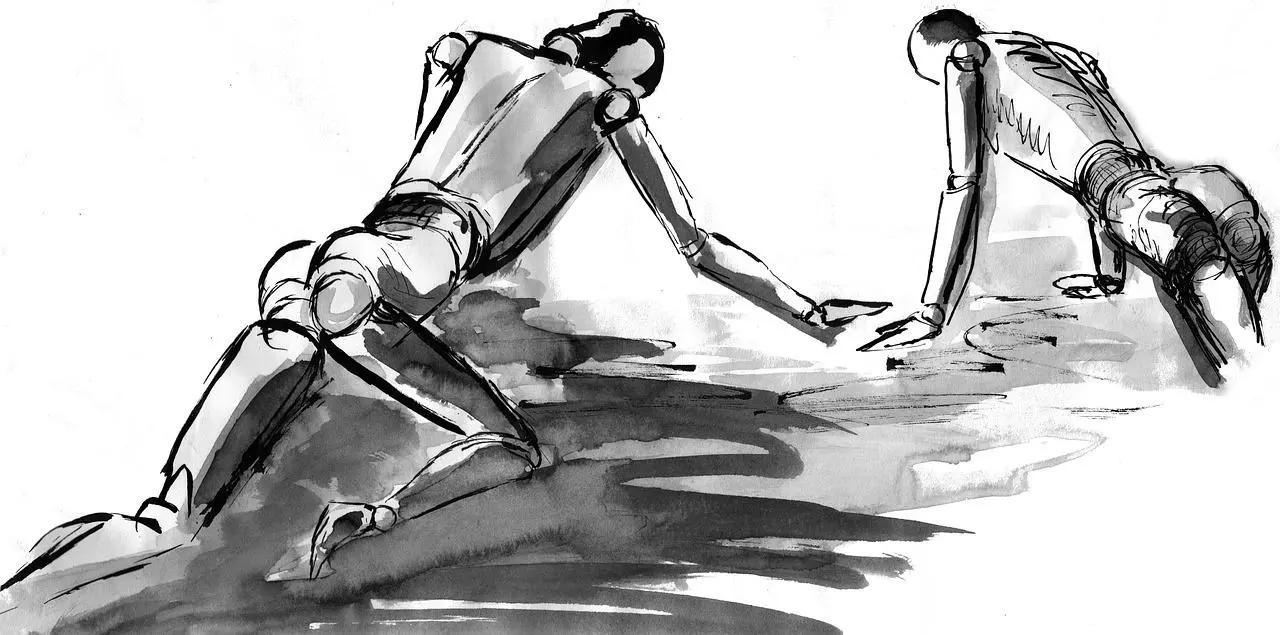
Struggling to make figures look alive? Gesture drawing can help: you sketch the movement of a pose in seconds, before any detail, so energy lands on the page first.
This guide is part of our wider look at illustration techniques.
| Item | Value |
|---|---|
| First mark in a pose | The action line |
| Where to look first | The torso |
| Short-pose limit for isolating the torso | Two minutes or less |
| Suggested session length for learning gesture | Five minutes or less per pose |
| Source article published | 5 February 2025 |
These figures come from Creative Bloq’s gesture drawing guide. They are one artist’s advice and can change, so check the source before you rely on them.
What gesture drawing actually is
A gesture drawing is a fast, loose sketch that records movement and weight rather than likeness. You are not outlining a person; you are noting where the body pushes, stretches and compresses.
Creative Bloq’s guide frames it as a tool for life: the artist says the relaxed or stretch side of the figure is the primary gesture, the “action line”. Everything else in the sketch hangs from that single idea.
That is why gesture suits concept art and illustration. Aim to preserve the pose’s clarity as you add costume, anatomy and rendering.
Start with the action line
The action line is the long, flowing curve that carries the pose. The guide’s advice is plain: begin with it, before anything else.
To find it, look at the torso first. According to the same guide, the first place to look is where the torso is contracting and where it is relaxing.
- Study the pose for a moment and feel the main direction of movement.
- Draw one confident line for the action, using your whole arm rather than just your wrist.
- Connect the shoulders and the hips.
- Close the form on the pinch side, where the body compresses.
- Add the limbs, then the head as a simple oval.
Do not stop to erase. A wobbly line that has energy is worth more here than a tidy one that is stiff.
Working to the clock
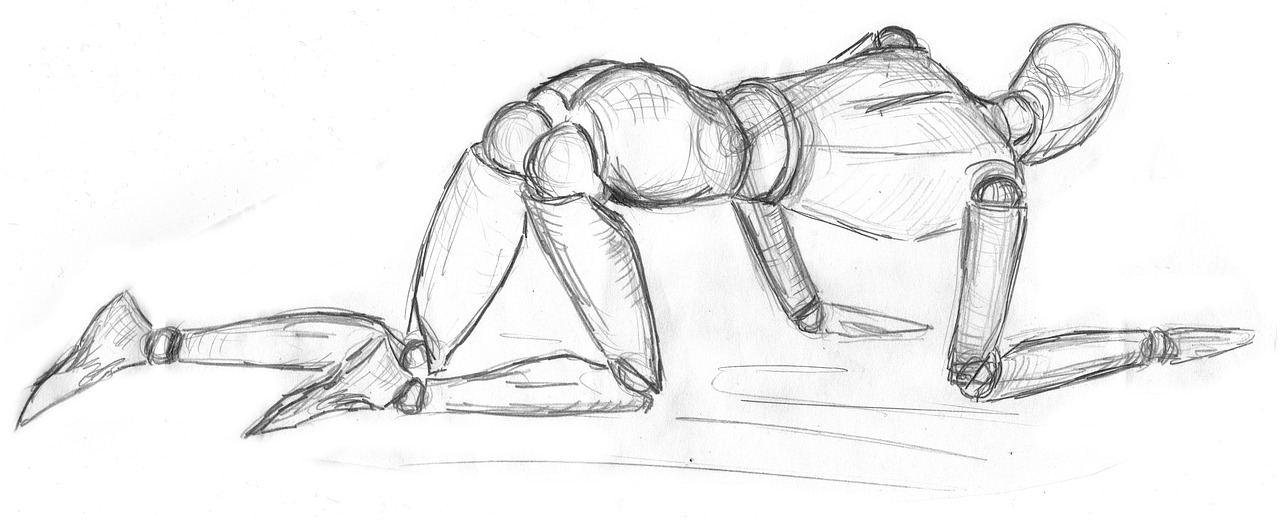
Timing is what forces you to simplify. The guide’s author enjoys timed life drawing at five minutes or less per pose for learning gesture.
Very short poses
For poses of two minutes or less, the guide suggests isolating the torso first so you can see the action line clearly. Once the line is down, connect the shoulders and hips and close the shape at the pinch side.
Spend any leftover time adding rhythms and major anatomy until the time is up. Stop when the timer stops, even if the drawing feels unfinished.
Slightly longer poses
With a little more time, you can afford to describe more. The guide shows a simple oval for the head and neck, then a rhythmic gesture along the outer edge of the legs to form a graphic shape.
As time permits, the author adds rhythm lines and simplifies any anatomical details. Simplifying means representing anatomy with less detail, even as you add forms.
A simple practice routine
Gesture improves through repetition, not through one perfect drawing. Try short, regular sessions to build a practice habit.
- Warm up with the shortest poses your reference tool offers, drawing only the action line.
- Move on to poses of about two minutes, adding the torso, shoulders and hips.
- Finish with a few poses of up to five minutes, adding limbs and the head.
- Review afterward: circle the sketch where the movement reads best and note why.
Use photo reference sites with timers, or a life drawing class if one is nearby. Choose poses with clear action, such as walking, reaching, throwing or leaning, rather than static standing.
Tools and habits that help
Gesture does not need special gear. The best tool is whatever lets you make big, fast marks without worrying about the result.
- Soft pencil, charcoal, a marker or a large digital brush with little smoothing.
- Cheap, large paper or a big canvas, so your whole arm can move.
- A visible timer, so you stop on schedule instead of drifting into detail.
- A pile of reference, so you never spend practice time hunting for poses.
Stand or sit back from your surface if you can. Distance makes you draw from the shoulder and elbow, which gives longer and more fluid lines than small wrist movements.
Work on cheap material and keep the pages. Looking back over a stack of sketches shows your progress far better than memory does, and it removes the pressure to make each one good.
Using gesture in real illustration work
Gesture is not only a warm-up. Many illustrators begin a character piece with a handful of tiny thumbnail gestures, then pick the pose that tells the story best.
Try this when you design a character or scene:
- Draw several quick gestures of the same idea, changing the action line each time.
- Compare them at small size and choose the one that reads fastest.
- Build the construction and anatomy on top of that chosen gesture.
- Check the finished drawing against your first sketch to see whether the energy survived.
If the final piece feels stiff, check whether the early gesture was lost under detail. Lay the gesture sketch beside the final image and look for where the main line was abandoned.
The same thinking applies to animals, hands, drapery and even objects. Anything can have a primary line of movement, whether it is a leaning tree, a hanging cloth or a bird in flight.
Common mistakes and how gesture connects to finished work
Focusing only on drawing outlines can distract you from the pose’s overall movement. If you catch yourself tracing the edge of an arm, return to the central line that the arm follows.
Other habits to watch for:
- Getting absorbed in head details before establishing the pose’s overall movement.
- Drawing with small, hesitant wrist strokes instead of whole-arm movement.
- Making every figure the same stiff, symmetrical shape.
- Treating the sketch as precious and refusing to start over.
Gesture also feeds the rest of your process. A strong gesture sketch gives you a clean base for later line art techniques, where you decide which lines to keep and which to refine.
Once a pose has believable movement, the next question is how light falls across it, which is the subject of lighting in illustration.
Frequently asked questions
How long should a gesture drawing take?
Show answer
One guide recommends timed practice of five minutes or less per pose, and for poses of two minutes or less it suggests isolating the torso first.
What is the action line?
Show answer
It is the primary gesture of the figure: the relaxed or stretch side that carries the movement. Creative Bloq’s guide tells you to begin every pose with it.
Should I erase mistakes in a gesture sketch?
Show answer
No. The goal is capturing movement quickly, so keep going, and use the next pose to correct what you noticed.
Can I use gesture drawing for animals or objects?
Show answer
Yes. The idea of a single line of movement works for any subject, though the guide cited here focuses on the human figure.
Where do I start on the body?
Show answer
Look at the torso first, where it is contracting and relaxing, then connect the shoulders and hips before adding limbs.