Struggling to make rooms and buildings look solid? Perspective drawing comes down to a horizon line and one, two or three vanishing points. Pick the number by how you are looking at the subject.
This guide is part of our wider look at illustration techniques.
| Item | Key fact |
|---|---|
| One-point perspective | One main vanishing point |
| Two-point perspective | Two vanishing points |
| Three-point perspective | Adds a third point above or below the horizon |
| Horizon line | Set at the viewer’s eye level |
| Vanishing point | Where parallel lines appear to converge |
These definitions come from Chris Wilson Studio and Don Corgi. Teaching sites can change their wording, so check the sources before you rely on them.
The three building blocks of perspective
Every perspective drawing rests on the same few ideas. Learn them once and the three systems become variations of a single method.
- Horizon line: the line at the viewer’s eye level, where sky meets land or water.
- Vanishing point: a spot where parallel edges receding into depth appear to meet; horizontal edges have vanishing points on the horizon, while other directions can have points above or below it.
- Orthogonals: the guide lines you run from an object’s edges back to a vanishing point.
Chris Wilson Studio advises you to “First, establish the horizon line at the viewer’s eye level.” Everything else is measured from that line.
A vanishing point is, in Don Corgi’s words, a place “where parallel lines appear to converge to.” Those lines are not really meeting. They only look that way because the apparent gap between them shrinks with distance.
Think of the horizon as your own eye height. Stand on a hill and it rises. Crouch on the floor and it drops. Choosing that height is the first creative decision in any scene.
One-point perspective: facing the scene head-on
One-point perspective suits scenes where a main surface faces you squarely. Hallways, straight roads, rooms and railway tracks are the classic examples.
Chris Wilson Studio notes that “In basic one-point perspective, horizontal and vertical edges on the plane facing you stay horizontal and vertical.” Only the edges running away from you slant toward the single vanishing point.
To sketch a simple room, follow these steps:
- Draw a horizon line across the page.
- Mark one vanishing point on it, usually near the middle or slightly off to one side.
- Draw the back wall as a plain rectangle.
- Draw light lines through the vanishing point and each back-wall corner, extending them beyond the rectangle to form the room’s ceiling, wall and floor boundaries.
- Add furniture or doors as boxes whose front faces stay square to you.
This is the easiest system, and it gives a calm, stable feeling. That makes it handy for interiors, corridors and symmetrical shots. Because everything points to one spot, it also pulls the eye there, so you can use it to direct attention.
Two-point perspective: looking at a corner
Turn your viewpoint so you look at a corner instead of a flat face, and you need two vanishing points. Chris Wilson Studio says this approach “is useful when you are looking toward the corner of a box, building, piece of furniture, or similar object.”
Both points sit on the same horizon line. Don Corgi describes the setup as drawing the horizon and then placing “two vanishing points, anywhere on it.” Vertical edges stay vertical, and the two sets of horizontal edges each head to their own point.
A workable routine looks like this:
- Draw the horizon line and place a vanishing point near each side of the page.
- Draw a vertical line for the nearest corner of the object.
- Connect the top and bottom of that line to both vanishing points.
- Add vertical lines for the far edges of each side.
- Join the far corners back to the opposite points to close the shape.
Place the points far apart for a gentle, natural look. Move them close together and the object looks stretched and distorted, as if seen through a wide-angle lens. Many illustrators keep one point off the page so the lines stay manageable.
Three-point perspective: looking up or down
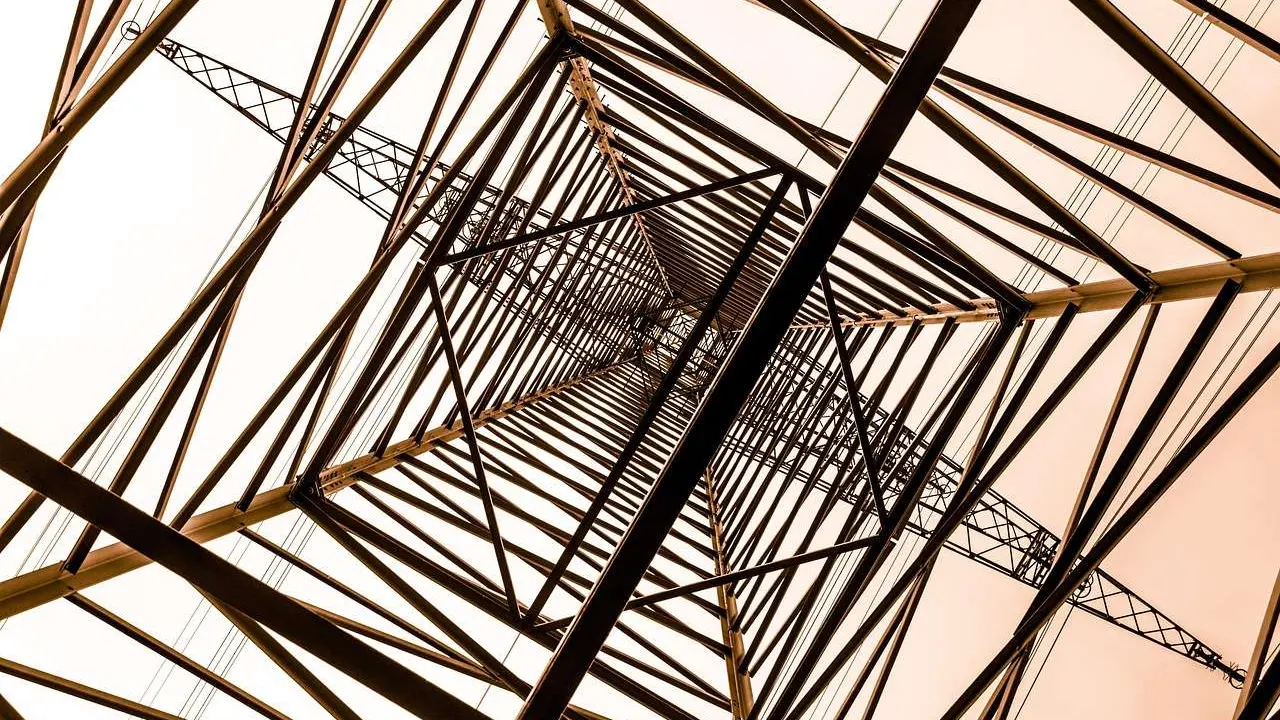
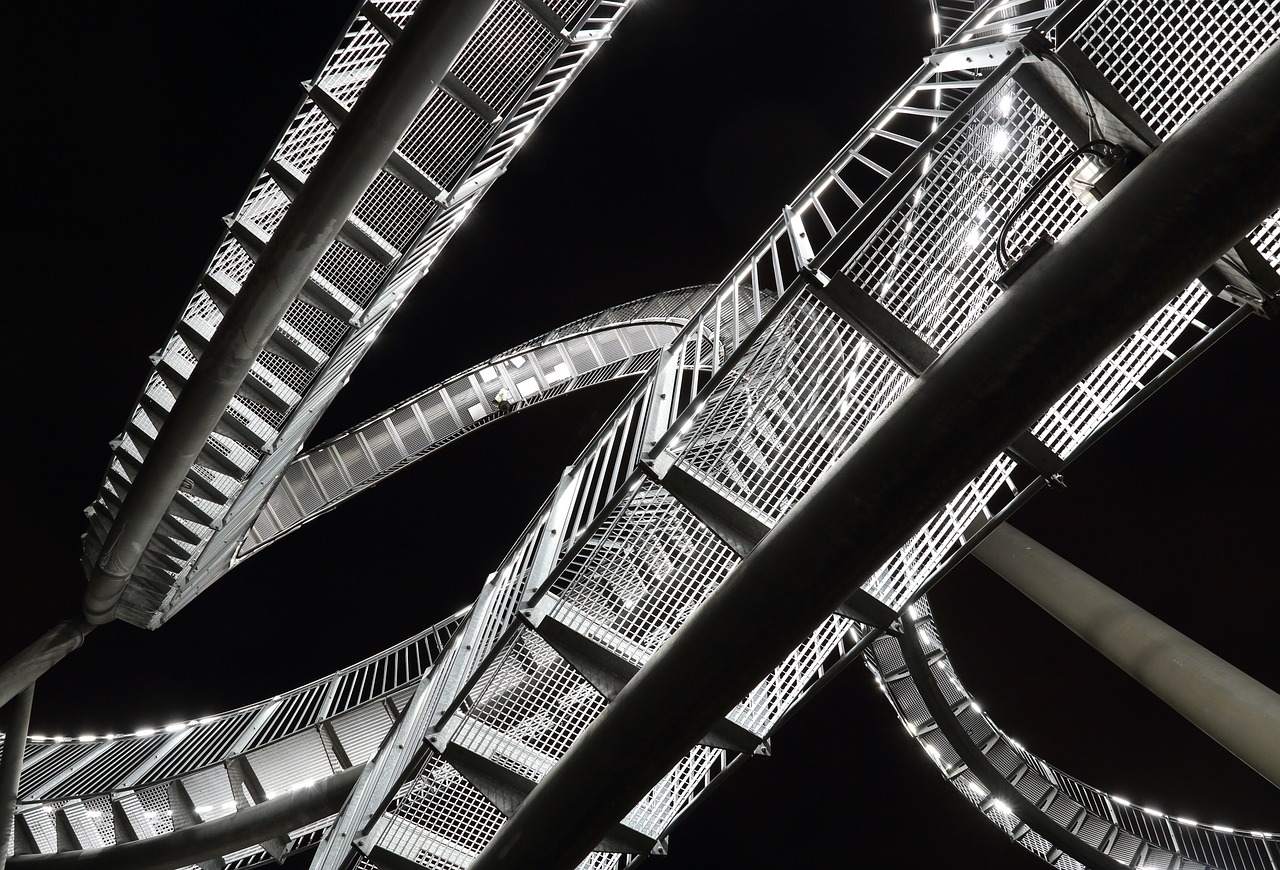
Three-point perspective adds a third vanishing point above or below the horizon. Chris Wilson Studio sums it up as a view where “The viewer looks strongly up or down”, and lists skyscrapers, aerial views and dramatic architecture as typical subjects.
Here the vertical edges stop being parallel on the page. If you look up at a tall tower, its sides lean toward a point high above you. If you look down from a rooftop, they lean toward a point far below.
Don Corgi explains the position this way: “This means that the third vanishing point would be up above the horizon line.” That applies when the view is upward. For a downward view, the third point sits below instead.
This system gives you the most drama and scale, which is why it turns up so often in concept art for cities and towering structures. It is also the easiest to overdo. A mild tilt reads as natural, while an extreme one can feel dizzying.
Choosing the right system for your drawing
You do not need the most complex system for every picture. Match the method to the camera angle you want.
- One point for symmetrical, front-facing views such as corridors and straight roads.
- Two points for objects and buildings seen from a corner, which is the most common choice for exteriors.
- Three points for steep views up or down, where height or depth is the story.
The way you arrange the shapes inside the frame matters too. Our guide to composition in illustration covers how vanishing points can steer the viewer’s eye.
Once the forms are solid, light and shadow make them convincing. The rules in shading techniques work best when your boxes already sit correctly in space.
Common mistakes and quick fixes
Most beginner problems come from a handful of habits. Spotting these habits can help you identify what to practise.
- Mixing viewpoints: Objects rotated relative to one another can have different vanishing points; sets of parallel edges sharing the same direction should share a vanishing point. Keep one horizon line for the whole picture.
- Drawing guides too heavily: keep construction lines light so you can erase or tone them down later.
- Forgetting the horizon height: objects above it show their undersides, and objects below it show their tops.
- Using extreme points: start with moderate angles, then push them once the basic shapes feel right.
Small thumbnail sketches are a quick way to test a viewpoint before you commit to a finished piece. Rough boxes are enough to show whether the angle works.
Frequently asked questions
What is the easiest type of perspective drawing to learn?
Show answer
One-point perspective is the simplest, because only one vanishing point is involved and the front-facing surfaces stay square to you.
Where does the horizon line go?
Show answer
It goes at the viewer’s eye level. Raise it for a high viewpoint and lower it for a low one.
Can one drawing mix different perspective systems?
Show answer
Each object follows its own set of lines, but the horizon line must be shared across the whole scene. Switching the horizon between objects makes the picture look inconsistent.
Do I need a ruler?
Show answer
A ruler helps for construction lines, especially at first. Many illustrators later sketch the guides freehand once they know where the lines should go.