
Hunting for the best drawing tablet for beginners is easier than the spec sheets suggest. Pick a small or medium non-display tablet with enough pressure levels and a battery-free pen, then learn on it.
This guide is part of our look at digital art software, because a tablet is only useful alongside the program you draw in.
| Item | Value |
|---|---|
| Minimum pressure levels for beginners | At least 1,024 levels |
| Pressure levels for more advanced users | At least 2,048 levels |
| Wacom Intuos Small active area | 152×95 mm |
| Wacom Intuos Medium active area | 216×135 mm |
| One by Wacom pressure levels | 2k |
| Regular Wacom Intuos pressure levels | 4k |
Figures come from Concept Art Empire’s buyer’s guide and Creative Bloq’s tablet guide. Models and specs change, so check the maker’s page before you rely on them.
What a beginner tablet actually needs
Most of the spec sheet is noise for a first purchase. Three things matter: active area, pressure sensitivity and how the pen is powered.
- Active area: the part of the surface you draw on, not the outer size.
- Pressure levels: how finely the tablet reads how hard you press.
- Pen type: battery-free pens never need charging.
- Connection: a USB cable to your computer is the norm.
Pen displays, where you draw on the screen, cost more and add more to check. If you are unsure which route suits you, our comparison of graphics tablet vs pen display covers it.
How much pressure sensitivity is enough?
Concept Art Empire says beginners should look for a tablet that has at least 1,024 pressure levels, and that more advanced artists should have at least 2,048. Creative Bloq notes that Wacom’s range runs from 2k on the One by Wacom, which “may be good enough for beginners”, to 4k on regular Intuos and 8k on Intuos Pro.
Check that the model you are considering meets the recommended pressure-level threshold. Spend your attention on size and comfort instead of chasing the biggest number.
Concept Art Empire explains the benefit of more levels: they let you make finer distinctions in line thickness, which matters most when you work on high-resolution drawings. As a beginner you are still building pen control, so that extra precision is rarely what holds you back.
A useful habit is to test how the pen responds before judging the hardware. Draw a stroke that goes from very light to very firm and see whether the line thickens smoothly; if it does, the tablet is doing its job.
Choosing a size: active area, not outer dimensions
When checking specs, don’t confuse the active area with the total tablet size, which includes the surrounding casing. Wacom makes Intuos in Small (152×95 mm) and Medium (216×135 mm) sizes, among others.
Think about where you will draw. A laptop on a kitchen table suits a compact tablet, while a dedicated desk with a large monitor can handle a medium one comfortably.
Larger areas feel more comfortable and allow more detail, but cost portability. Creative Bloq also points out that many users only use a space no larger than an A5 sheet of paper, so a smaller tablet is often plenty.
Pen technology and drivers
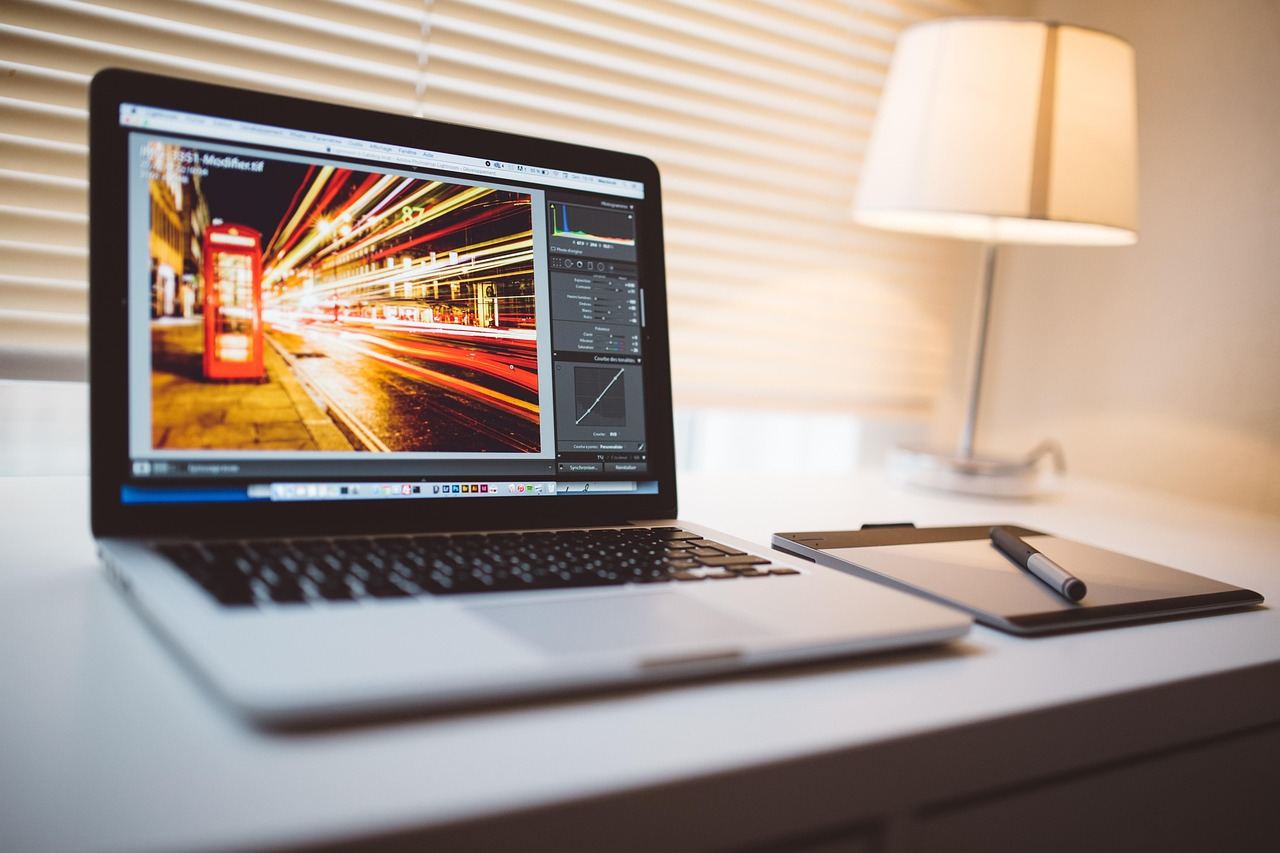
EMR styluses get power from the tablet itself, so there is no need to charge the pen. That is one less thing to forget when you sit down to practise.
Drivers matter as much as hardware. Concept Art Empire says performance depends on the tablet’s drivers and your computer’s specs, and it found Huion’s hardware and drivers tougher to work with. Read recent user reports for your operating system before buying.
Getting started and avoiding common mistakes
Getting used to drawing without looking at your hand
On a non-display tablet your hand moves on the desk while the marks appear on the monitor. This feels odd at first, and it is the single biggest adjustment for newcomers.
Practise in short, regular sessions with straight lines, circles and basic shapes to build hand–screen coordination.
- Sit with the tablet directly in front of your monitor, not off to one side.
- Keep the pen light in your hand; pressing hard does not make lines better.
- Draw from your elbow and shoulder for long strokes, not only the wrist.
- Map the tablet so its shape matches your screen’s proportions, so circles stay round.
Mistakes beginners make when buying
Most regrets come from a few predictable choices. Knowing them in advance saves money and frustration.
- Buying too big: a huge tablet can crowd a small desk and tire your arm, while a smaller area is often enough.
- Reading the wrong size: the outer dimensions are not the drawing surface, so look for the active area in the specs.
- Overpaying for features: extra buttons and top-end pressure levels help experienced artists more than someone learning basic control.
- Ignoring compatibility: check that the driver supports your operating system and the program you plan to use.
- Skipping reviews of drivers: hardware can look fine on paper while the software around it is awkward to live with.
Matching the tablet to your drawing program
A tablet does nothing on its own. It needs a drawing program that reads pen pressure and lets you map it to brush size or opacity.
Before you buy, decide which program you will learn in and confirm it supports pressure from the tablet brand you are considering. Many programs have free trials or free versions, so you can try the brush settings with a mouse first and judge how much you want pressure control.
Once the tablet arrives, spend time in the driver settings. With brush size linked to pressure, adjusting the pressure curve may make the pen feel more comfortable.
When to choose, and when a pen display makes more sense
If drawing without looking at your hand frustrates you after a fair trial, a pen display lets you draw directly on the screen. Creative Bloq says to look at resolution, colour coverage and accuracy, pen pressure levels, screen lamination and general build quality when choosing one.
Those screens generally cost more and take more desk space, so many beginners start with a plain tablet and upgrade only if they find they need to. Treat your first tablet as a way to learn what you like, not as a final purchase.
A simple way to decide
Work through the steps below in order. They turn the specs above into a short checklist you can apply to any model you are considering.
- Set a budget and decide on a non-display tablet unless you are sure you want a screen.
- Choose a small or medium active area that fits your desk and bag.
- Confirm the pressure levels meet the beginner minimum and the pen is battery-free.
- Check driver support for your computer and drawing program.
- Compare shortlisted models on our page about drawing tablets.
Frequently asked questions
Do I need a pen display to start?
Show answer
No. A non-display tablet connects to your computer by USB cable and is a common, cheaper way to learn.
Is a bigger tablet always better?
Show answer
Not always. Larger areas are more comfortable, but many users only use roughly an A5 sheet of space, according to Creative Bloq.
Do more pressure levels make me draw better?
Show answer
No. More levels allow finer line-thickness distinctions, but beginners only need at least 1,024 according to Concept Art Empire.
Does the pen need charging?
Show answer
Not with EMR styluses, which receive power wirelessly from the tablet.